CARDEXCHANGE®
CONTROLLER
Using Profiles
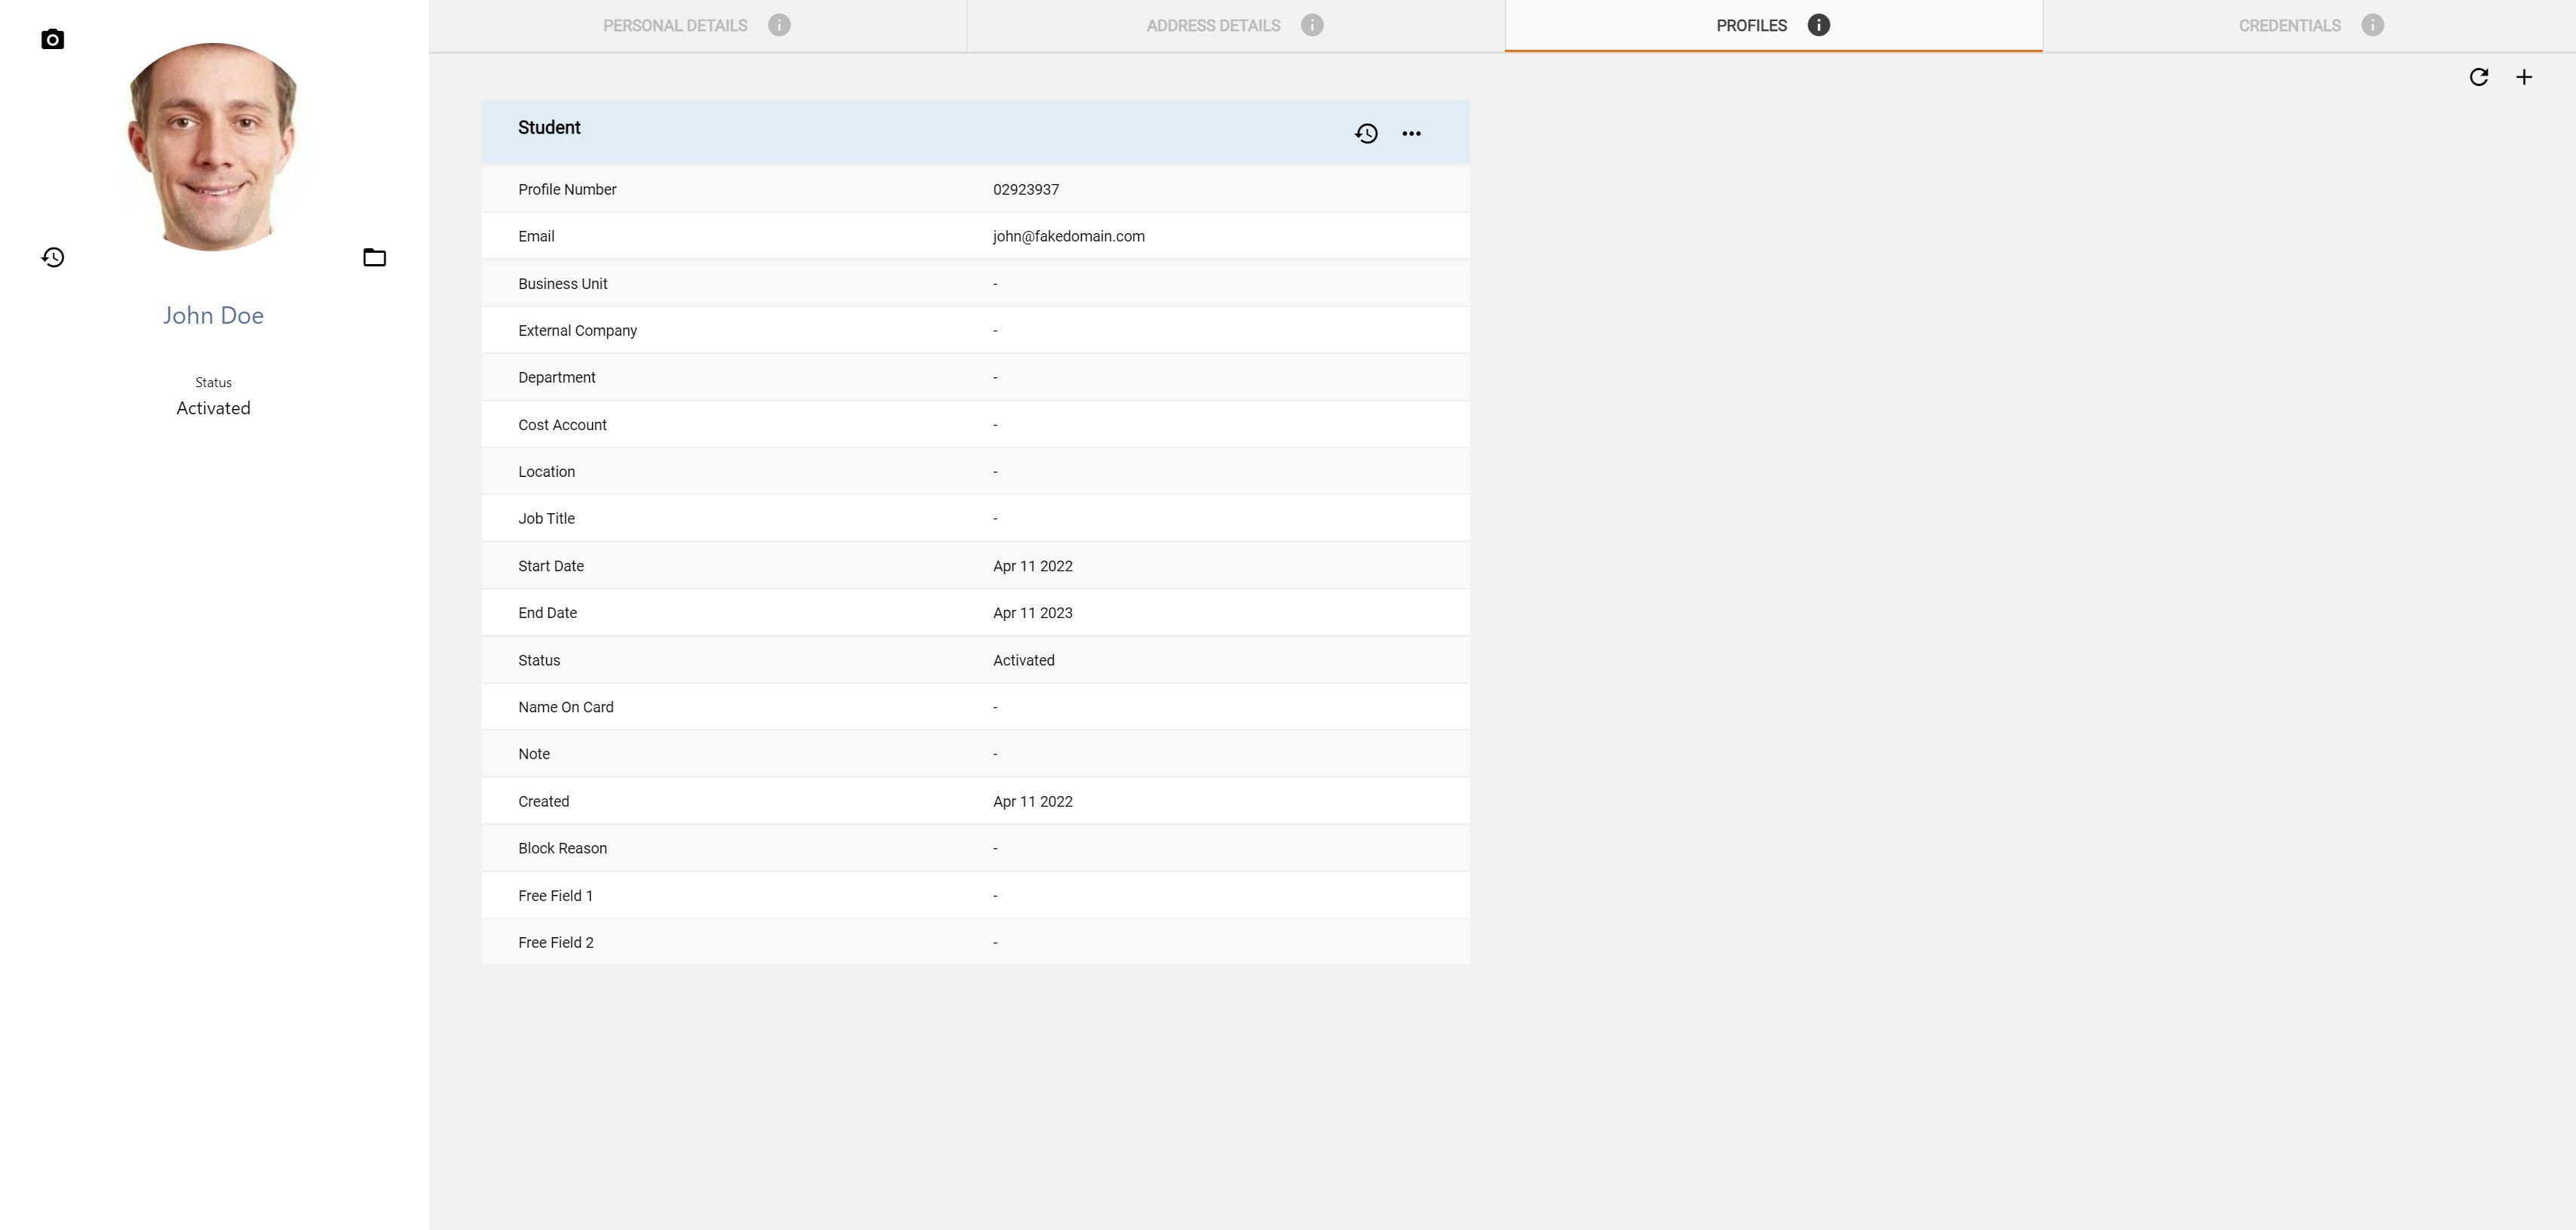
While in the Personal Details screen of the record, you have a few tabs at the top. The third of those tabs is the Profiles tab.
Clicking on the Profiles tab will bring you to the Profile overview for that record. You will see an individual pane for each Profile that is listed for that record.

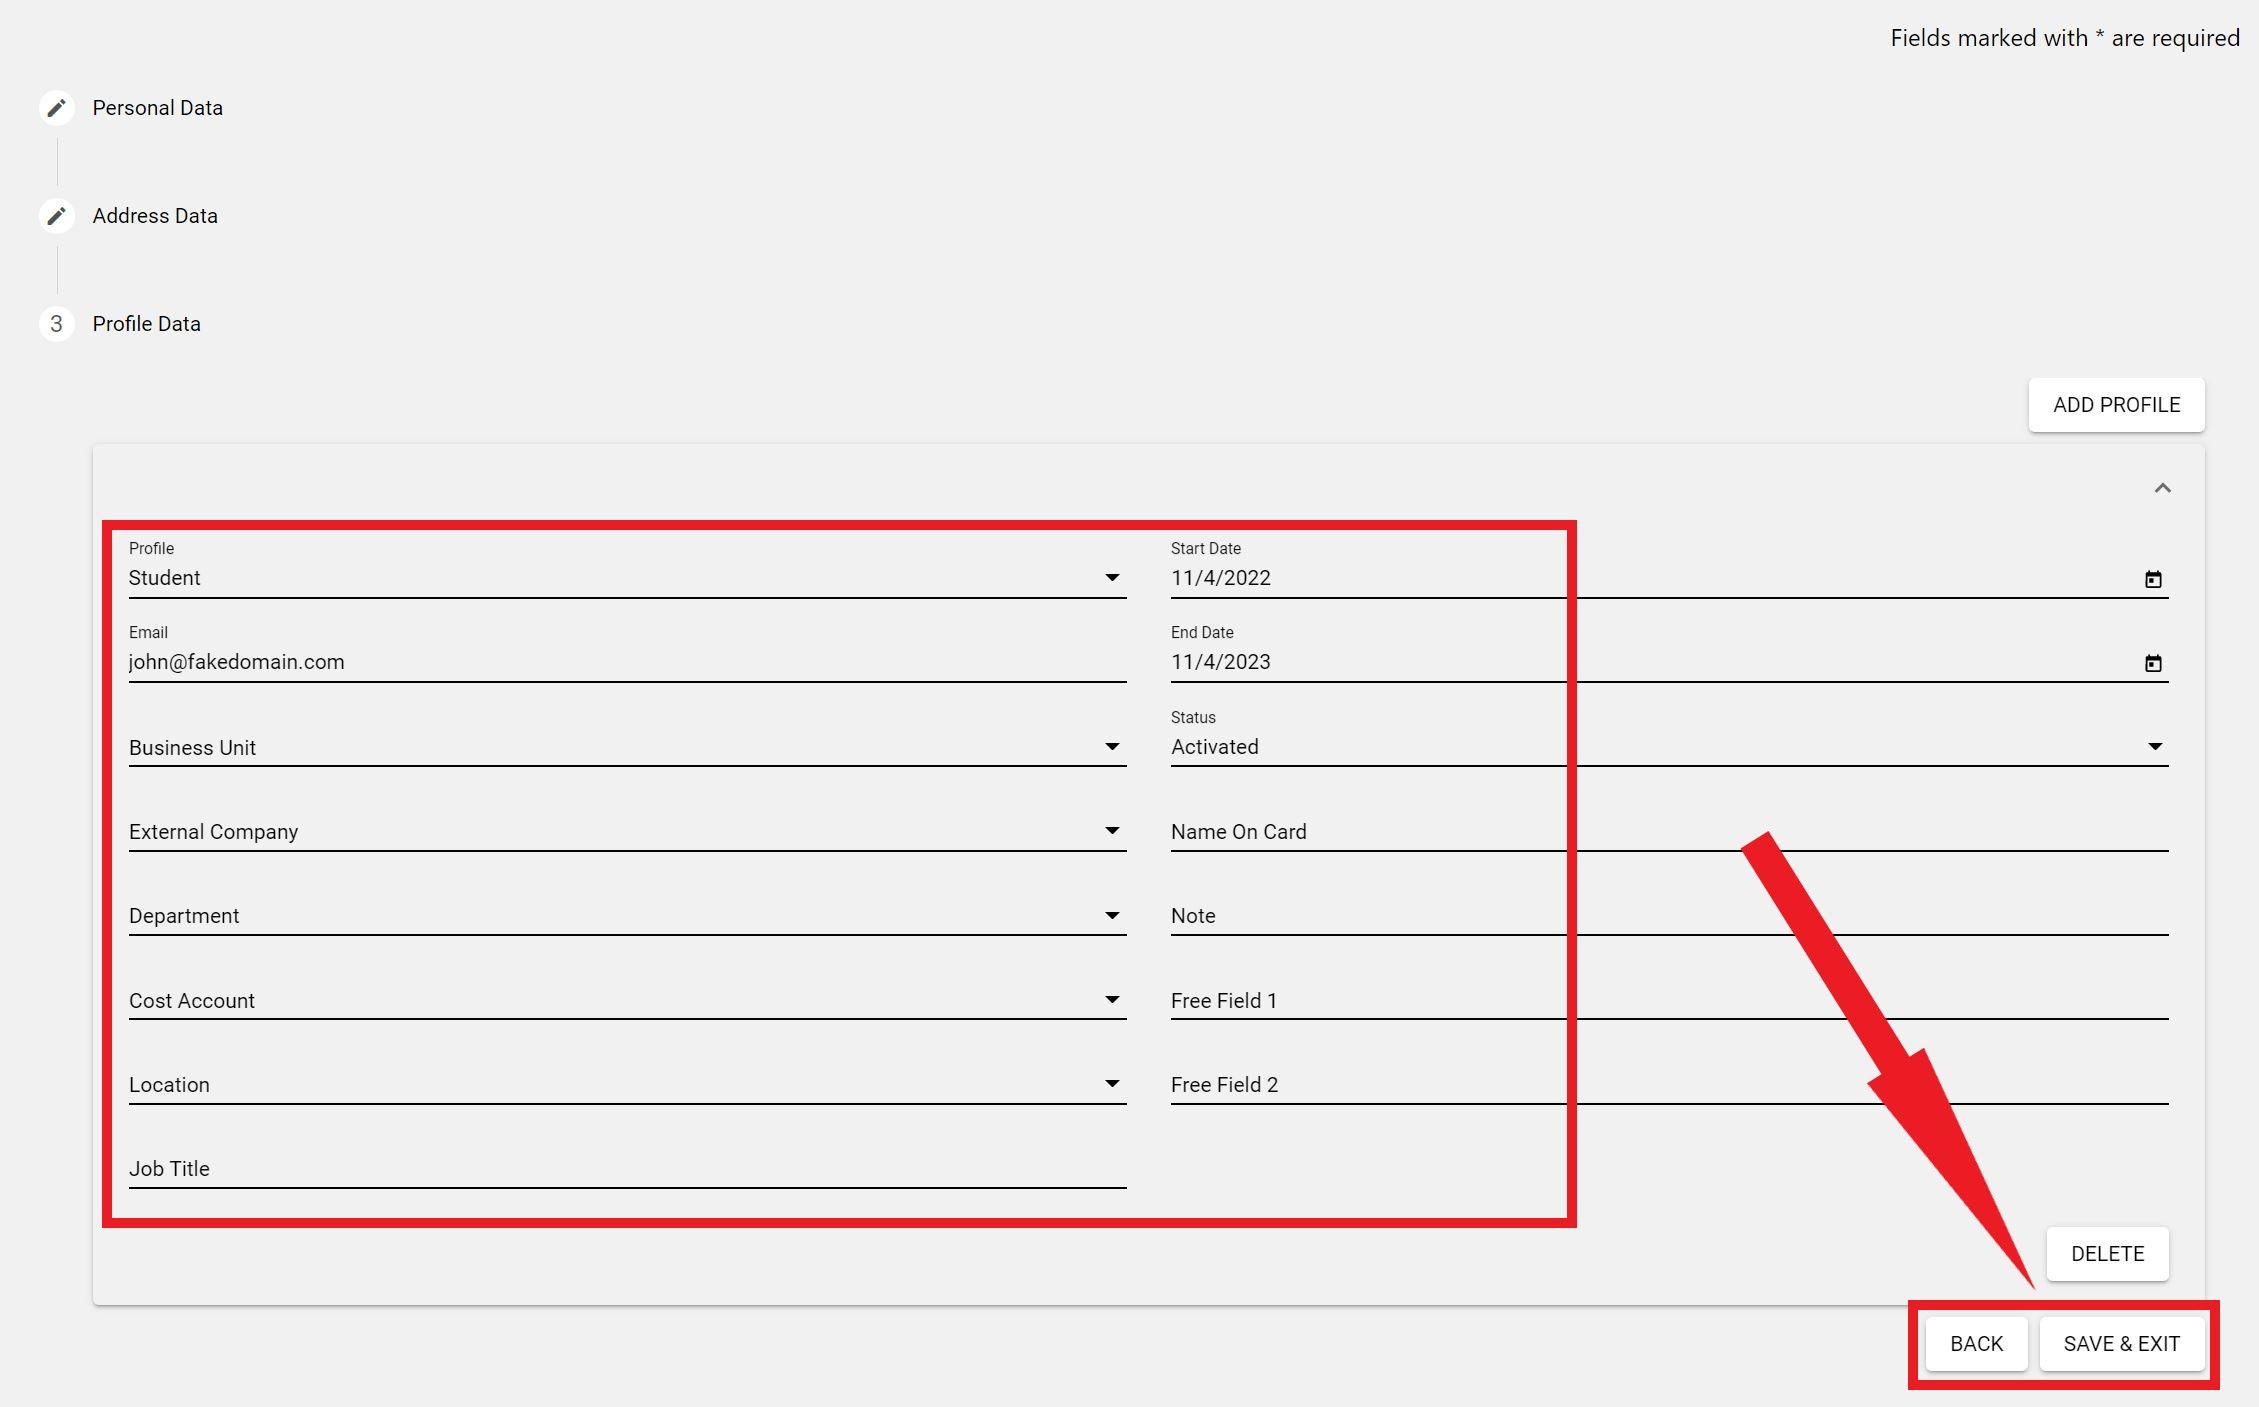
At the top left corner, you can click on the + button to add a new Profile. Fill in the details for the new Profile, then click on the save and close button to be brought back to the Profiles overview pane.
Do note, if you will be using Stand for your self service portal, then you will need to define an email address for the Profile they will be using on Stand. The Profile will also need to be configured to have Self Service enabled through the Admin Center. When the profile is created, and self service is enabled for that profile, the system will send a welcome email to the end user for them to set their password and login to the Stand service.


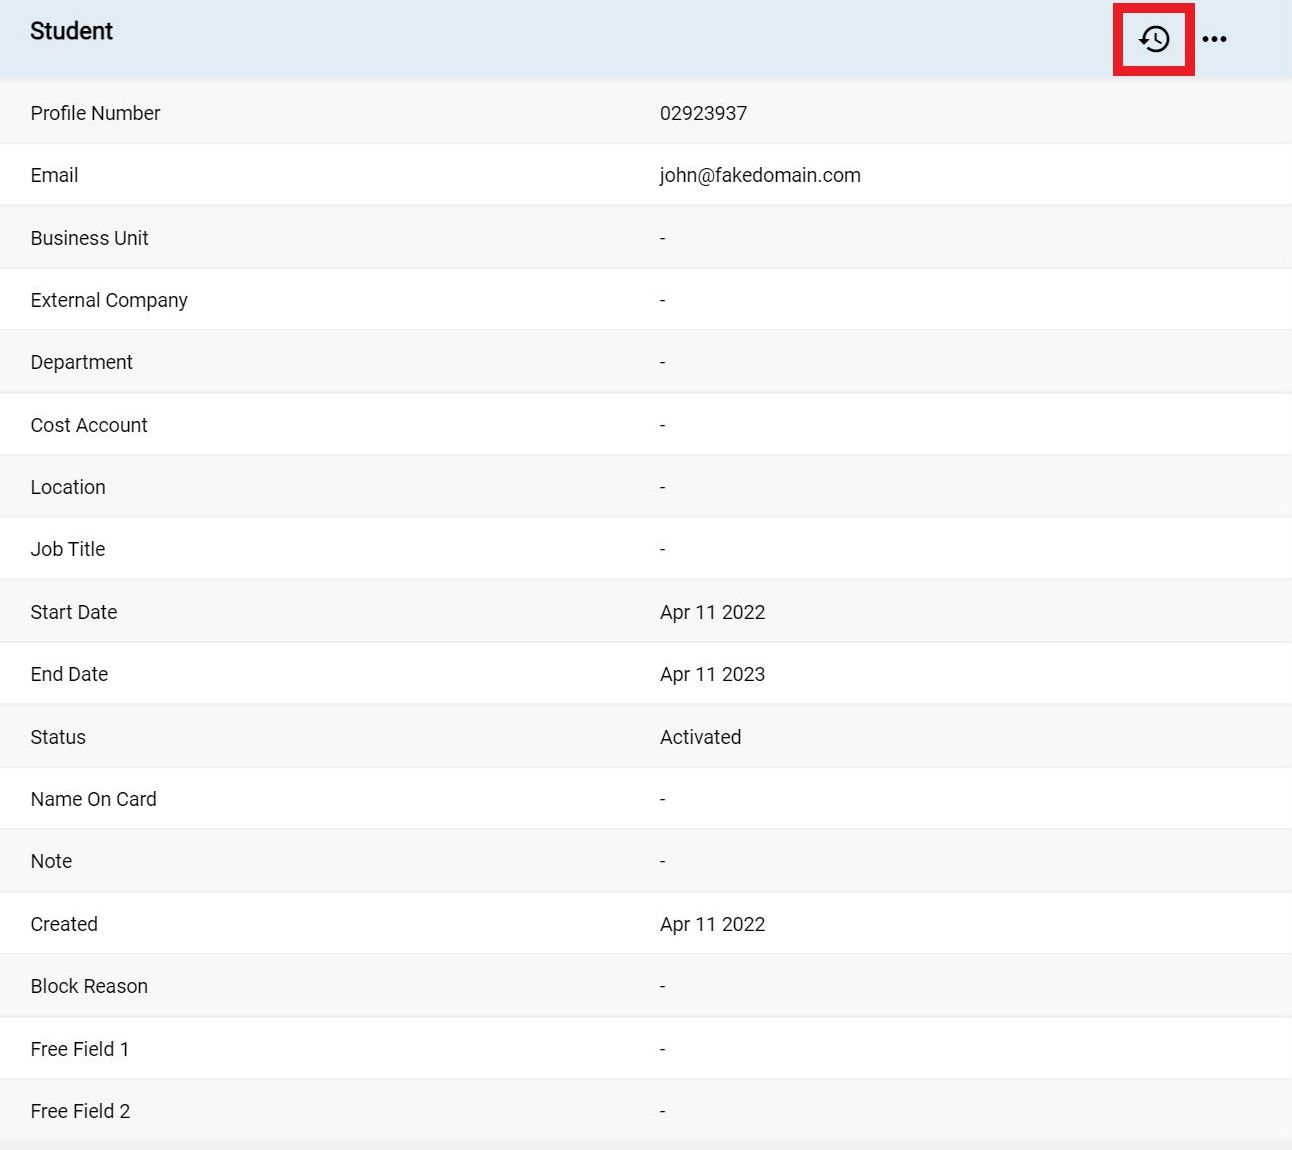
Within each of the Profile panes, you have two buttons. First there is a clock icon button that you can click on to see the history of the Profile.

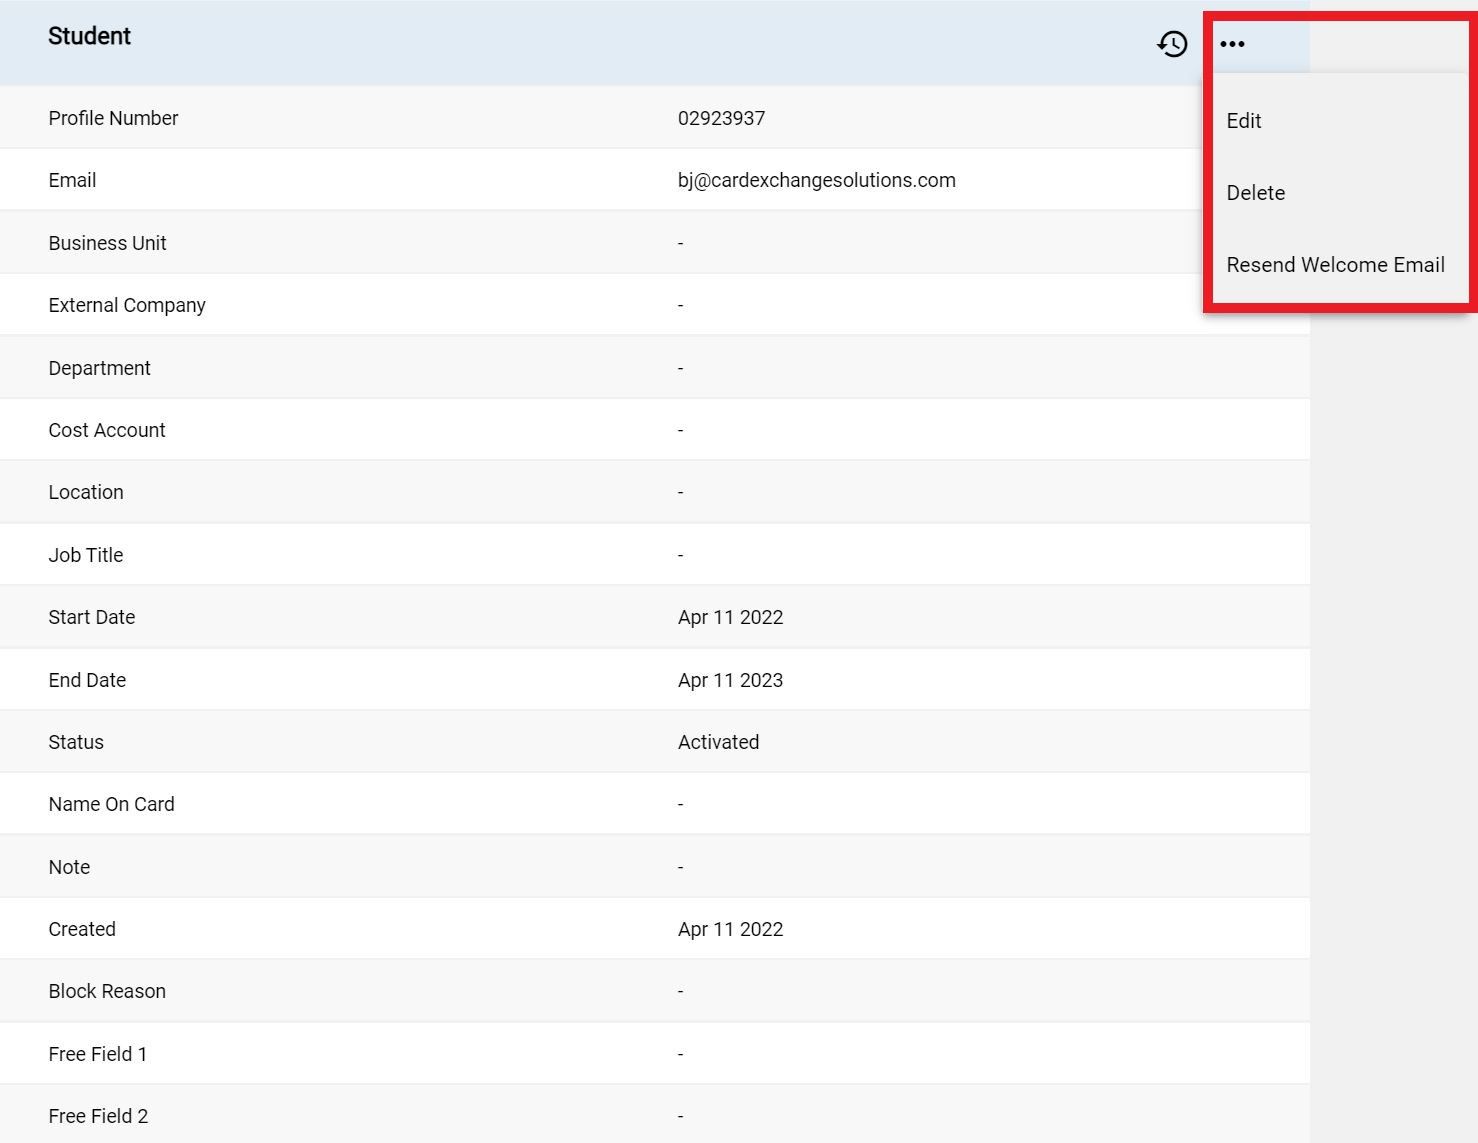
Also there a three dot button where you can choose to edit or delete the Profile, and resend the welcome email.
If you are using the Stand Application, and your end user did not recieve an email to set a password, you can try to resend it by clicking on the Resend Welcome Email button.


US business only within scope

ISO/IEC 27001:2013
United States
2010 Elkins Way, Suite 1122
Brentwood, CA 94513
Monday – Friday
9am – 5pm (EST)
+1 (925) 529 4999
Netherlands
Smallepad 32
3811 MG Amersfoort
Monday – Friday
9am – 5pm (CET)
+31 (0)20 2251 447
