CARDEXCHANGE®
CONTROLLER
Person Details
When you click on a record from the People overview screen, you will be brought into the Personal details screen for that record.
Here you will see all of the data that is associated with that record.
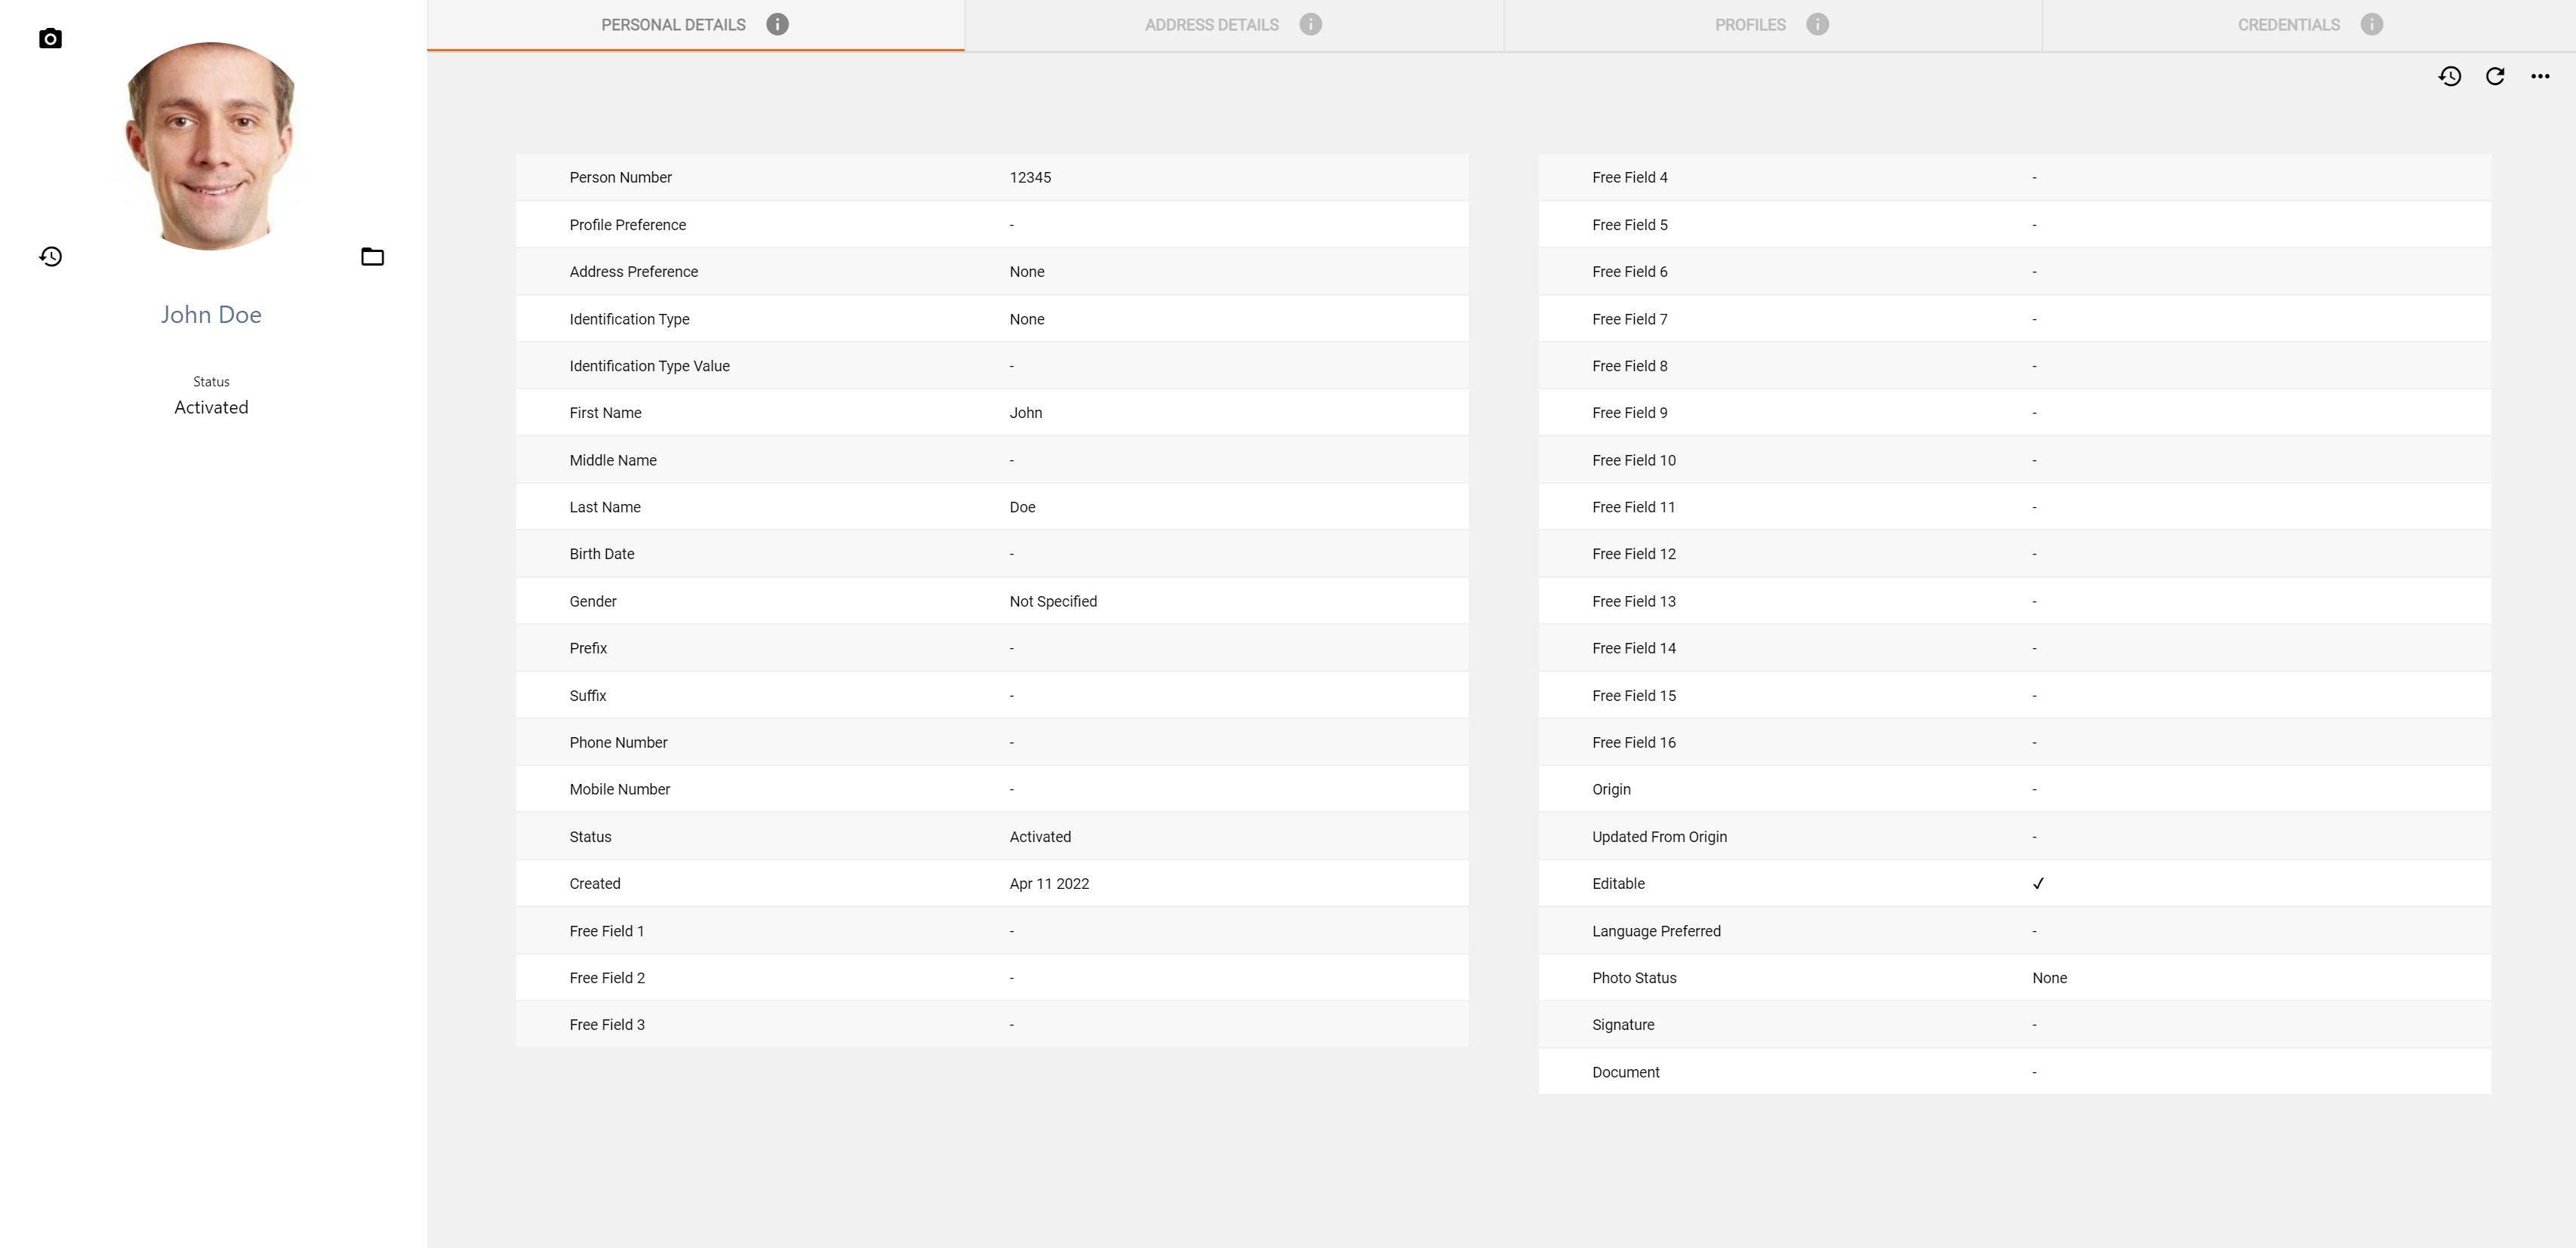
On this screen there are a few things that you have the ability to do.
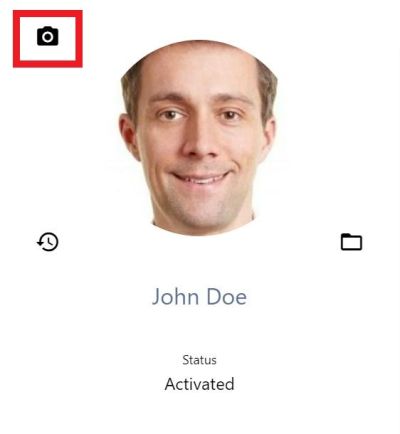
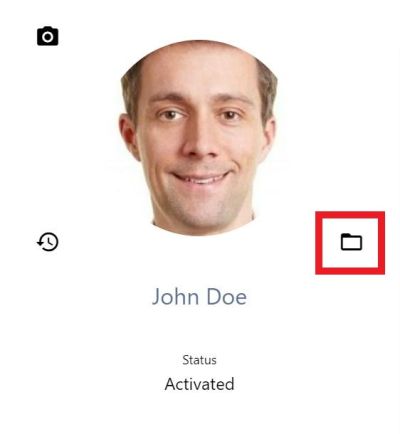
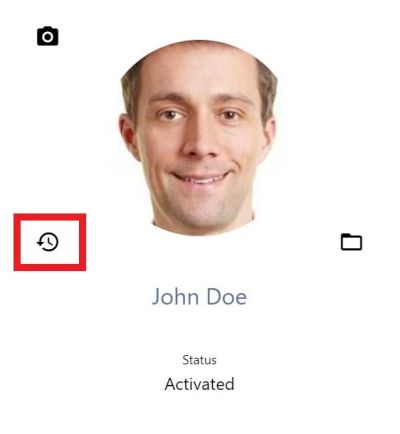
First, starting in the top left of the screen, you will see the current photo for the record. Around the photo are a few buttons:
To the top right of the photo is the Camera icon button. Clicking on this button will allow you to do a direct photo capture with a webcam that is attached to the computer you are using.
Below the photo and to the right is the Folder icon button. Clicking on this button will allow you to browse and select a photo that you want to upload to that record.
Below the photo and to the left is the Clock icon. Clicking on this button will show you the photo history for the record. You can see all of the previous photos associated with the record, and can choose one to revert back to if you desire.
Also on the Personal details screen, you have three buttons in the top right.
The left most button, the Clock icon, will show you the history for that person record. On the pane that pops out, you will see the change history, modified date, and the user that made the changes.

The middle button, the Refresh button, will refresh the data.

Finally, the right most button, the three dots button, will expand out to give you additional options.
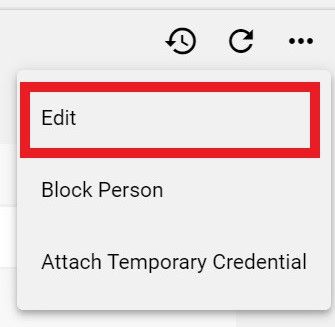
The first one in this list is Edit. Clicking on this will let you edit the details for that record.

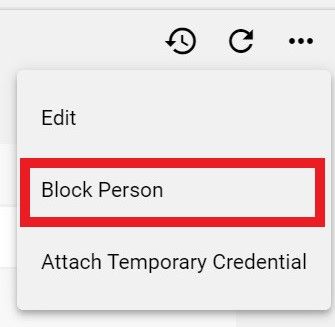
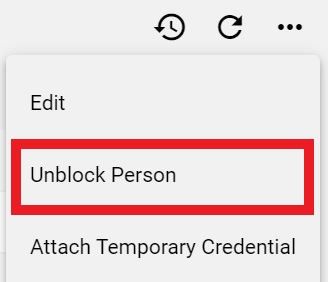
Next in the list is Block person. If you click on this, then you will be asked to verify that you want to Block the Person. When a person is blocked, all of the active credentials and profiles that they have will be set to a blocked state. If the person you are viewing is already in a blocked state, then the list will show Unblock person instead. You can click on this to unblock the person and their profiles.


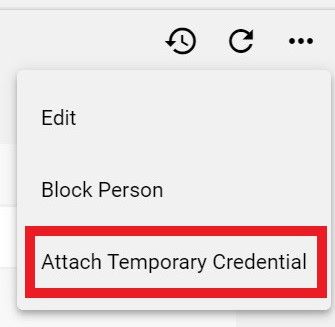
Continuing down the list, we have Attach Temporary Credential. If you have some temporary credentials set up, you can then select the correct one you want to issue them, and associate it with the record.
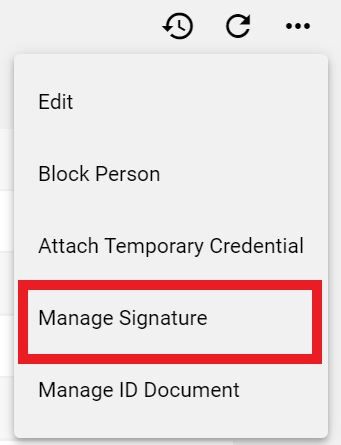
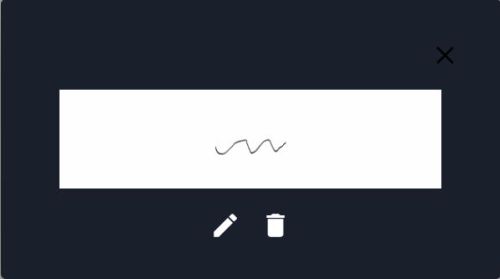
Managing signatures is also done here. If you have a Stand subscription and the Person has either captured or uploaded a signature, you will see it in the Person details screen towards the bottom right. Clicking on the Manage Signature button will allow you to edit and change the crop or orientation of the signature.
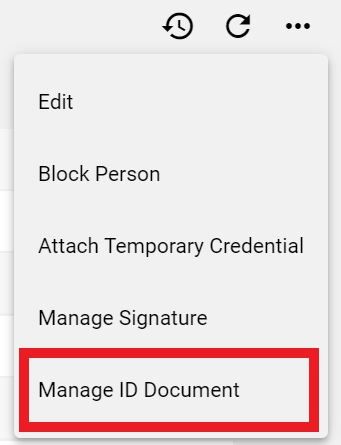
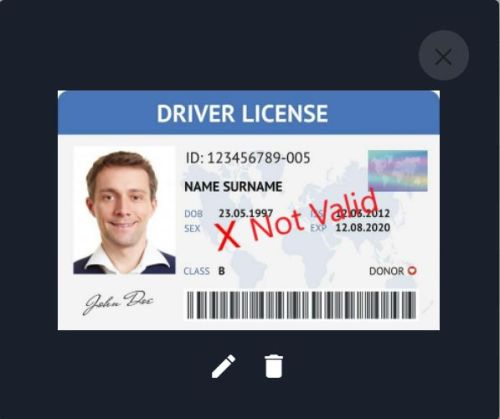
Depending on if the person has uploaded an ID document within Stand, or you have manually added on on the Photos screen, then you will see their document in the bottom left of the Personal details. If their is a document, then you can edit the image by clicking on the Manage document button in this list. Here you can change the crop, or delete the ID document.


US business only within scope

ISO/IEC 27001:2013
United States
2010 Elkins Way, Suite 1122
Brentwood, CA 94513
Monday – Friday
9am – 5pm (EST)
+1 (925) 529 4999
Netherlands
Smallepad 32
3811 MG Amersfoort
Monday – Friday
9am – 5pm (CET)
+31 (0)20 2251 447
