CARDEXCHANGE®
ADMIN CENTER
Menu
Introducing HID Fargo Connect
HID FARGO Connect simplifies the management and delivery of credentials by removing the most resource consuming tasks. This evolution in technology seamlessly works with popular one-card and physical access control software, databases and card technologies. By combining hardware, software, and services through the most secure cloud technologies available your card office becomes more efficient and effective.
HID® Connect integration offers the possibility to directly print and produce ID cards from out of the Cloud Suite to remote locations and/or print farms. The system is configured via a hardware console provide by HID® and the credentials are provided to the end-user by HID®. The system also includes an online ID card template designer and printer manager and all that information can be used with the Cloud Suite. The created card templates can be connected to our profiles when enables bulk production with large enrollment and card issuance projects.
Within the Cloud Suite you start with the general setup. In this section you enable the HID® Connect feature and enter all the credential information received from HID®. HID® also provides a certificate that needs to be uploaded to the HID® server and that also needs to be done in this section. When all credentials are provided and the certificate is uploaded, you click on the Connect button to enable and connect the system.
When the system is enabled and connected, you can find all the available consoles within your account and all connected printers and their statuses. HID® Connect currently supports 3 ID card printers per console.
In the Template section you can add and connect HID® Connect card templates to the Cloud Suite profile(s), set the print destination and map the Cloud Suite fields with the card template. Click on Add Template and in the window opening from the right, you start with selecting the card template. These templates are directly loaded from the online HID® Server location. Next you select the Profile that uses this template, for example the Student Profile, and you select the Print Destination. As it is possible to change the templates within the Cloud Suite production environment, you can set a template as default for the profile. This is needed if you want to create an automatic workflow process with business rules. When a Profile does not have a default template, it will stop the production process to select a template. If you do not want this template to be used but you don’t want to delete it, you can set it to unpublished.
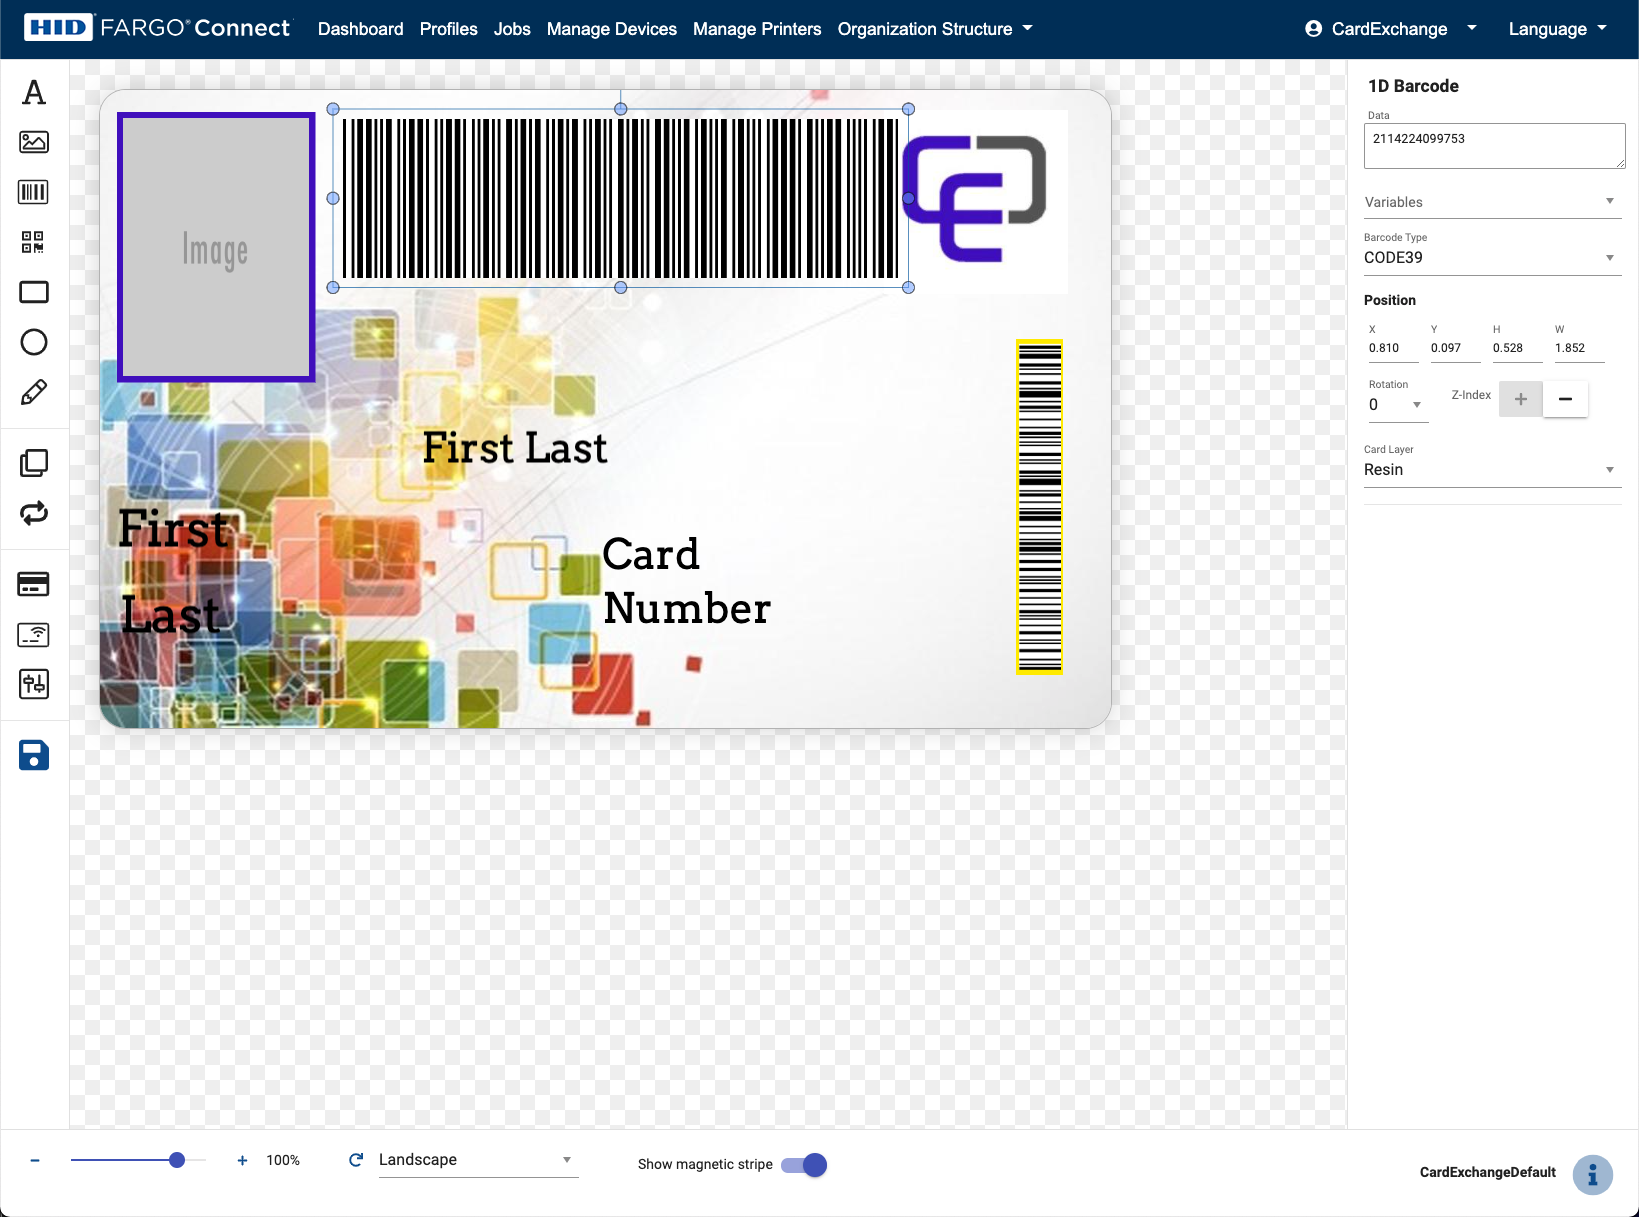
When the system is enabled and connected, you can find all the available consoles within your account and all connected printers and their statuses. HID® Connect currently supports 3 ID card printers per console.
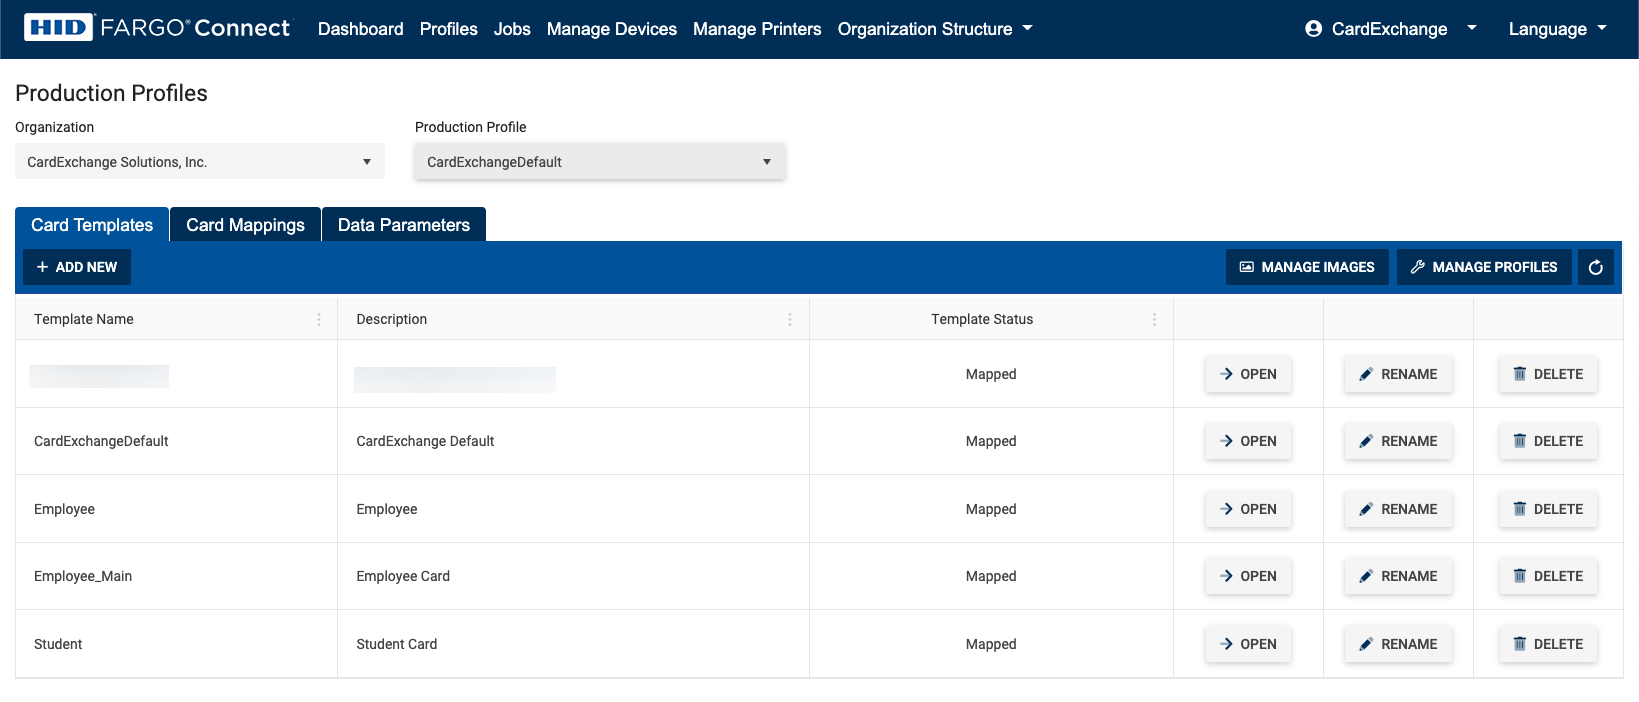
When the system is enabled and connected, you can find all the available consoles within your account and all connected printers and their statuses. HID® Connect currently supports 3 ID card printers per console.
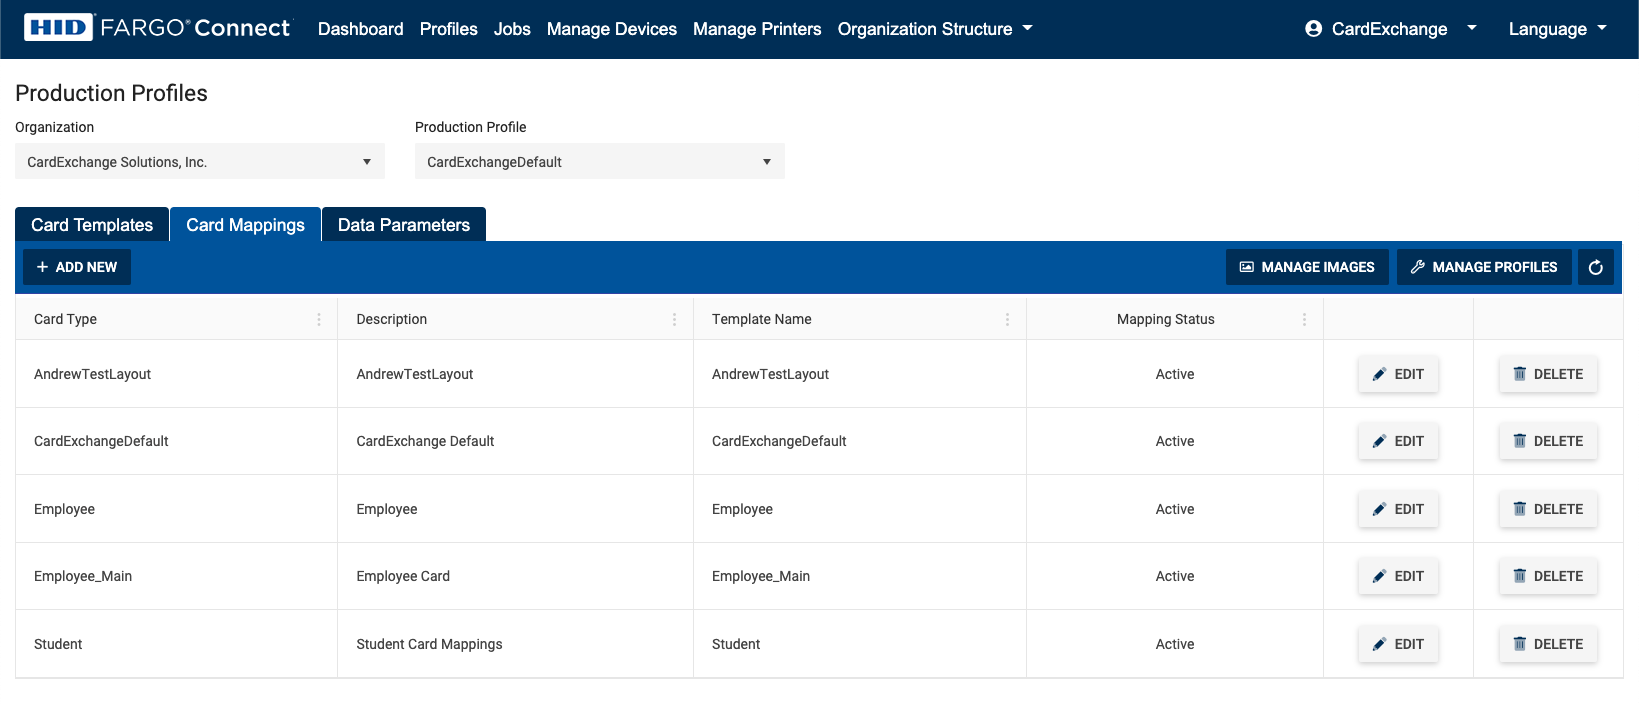
When the system is enabled and connected, you can find all the available consoles within your account and all connected printers and their statuses. HID® Connect currently supports 3 ID card printers per console.
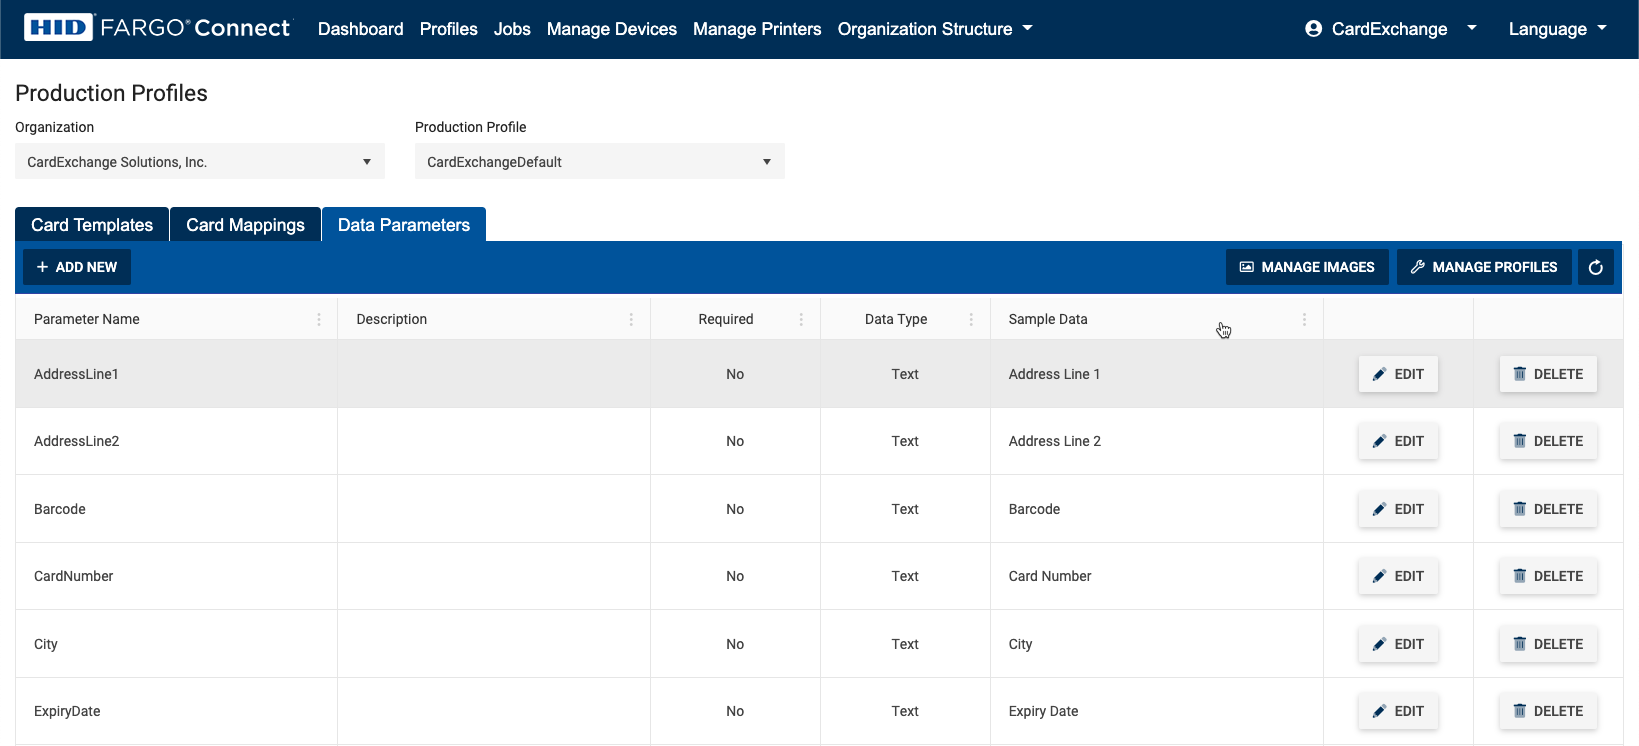
When the system is enabled and connected, you can find all the available consoles within your account and all connected printers and their statuses. HID® Connect currently supports 3 ID card printers per console.


US business only within scope

ISO/IEC 27001:2013
United States
2010 Elkins Way, Suite 1122
Brentwood, CA 94513
Monday – Friday
9am – 5pm (EST)
+1 (925) 529 4999
Netherlands
Smallepad 32
3811 MG Amersfoort
Monday – Friday
9am – 5pm (CET)
+31 (0)20 2251 447
